front brake disc on the wheel assembly Hello again to all my dear friends digital, once again, this medium unites us in one language and passion in this section, we narrate the simplest way possible as the disc is mounted front brakes, not very complicated, but as it is an essential component of our security, detailed step by step as best I could, I hope you serve.
parts, tools and / or ingredients to prepare this recipe: First of all sorts, I, trying to emulate an operating table, I tried to have the best possible way, all the equipment and tools necessary for this delicate operation, although not everything is spotless in terms of disinfection is concerned, the patient hopefully evolve positively,
see photo A. Photo A- disc brakes, 10mm and 12mm combination wrench, or / or-die rache 10mm, 12mm, four bolts with their nuts, metal security templates and guidance with decorative mechanism driving the clock guaya speedometer / odometer.
clear and obvious, I recommend cleaning all the pieces to remove any contaminant to be present in them, as could be, grease, dirt, tar, etc ..., to do everything I first washed with petrol and then I decant final touch, clean everything with a concentrated cleaner homemade dishes, these, those who cut the fat that comes in green, orange, red and almost huelens from lemon ice cream, which makes the chemistry of today.

basic method to start with this gun. We place
1-round decorative plate, if you look carefully in the middle has two notches that stand out are shown in picture # 1 and # 2.
Photo # 1, the plate with the notches facing forward.

Photo # 2, the plate with notches, posterior view.

2-Place the part that triggers a mechanism the clock that drives the speedometer / odometer, photo # 2.
Photo # 2.

3-must align the two parts as indicated by the green arrows and red, there is only one way to do it is simple, see picture # 3 and # 4.
Photo # 3 - Aligning the two pieces.

Pictured # 4, the marriage of the lovers should look like this.

4-grabbed the two pieces below, since otherwise the gravity of the divorce ...

5-Located on the right side of the block of the wheel, the site you agree to the puzzle as the holes having the same ...

6-align should not surprisingly, the two parties on the basis that everything is well-focused ...

7-and the newlyweds can enjoy their honeymoon in the Caribbean island as paradise.

7-We must find the six long bolts with their nuts.

8-We inserted from the right side of each of the six bolts, as they are the ones that holds the disc.

9-View aldo's left of the bolts completely placed.

10-Inside the red circle, we see all the bolts inserted (not yet adjusted) in the right way, so make sure both parties are described in the early stages.

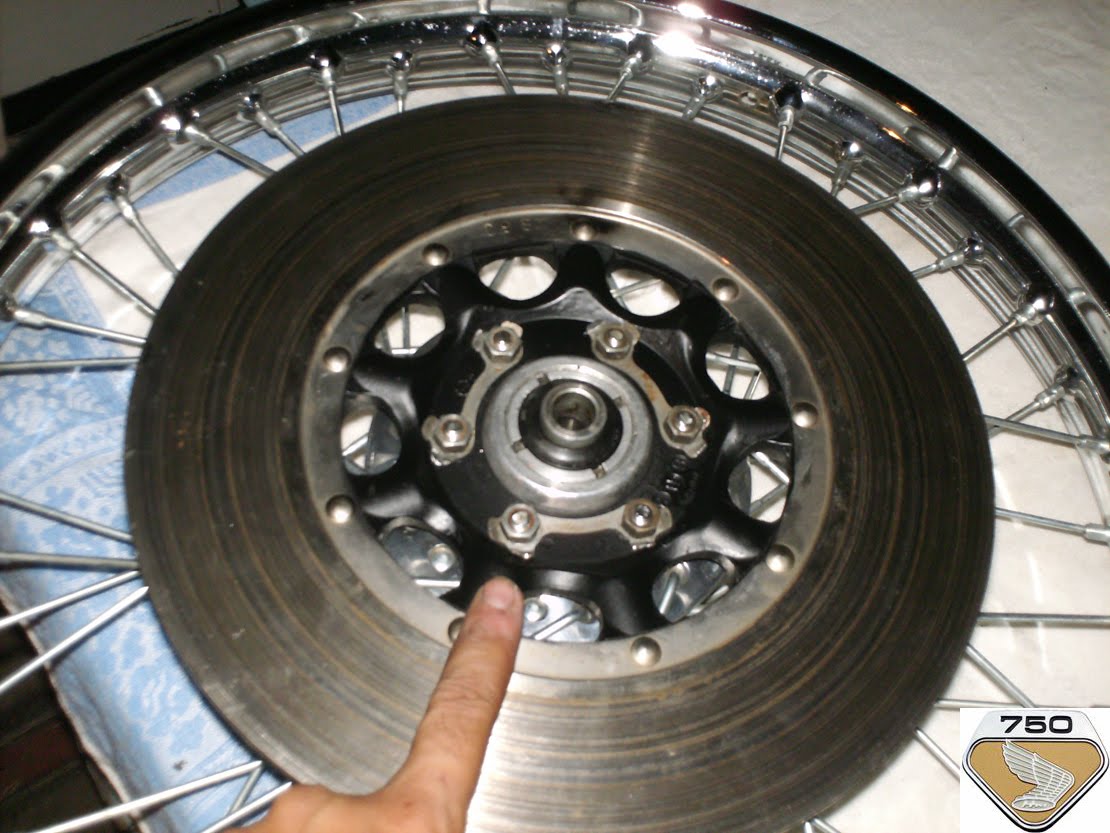
11-So you have to look all the pins, indicated by red arrows on the left side of the block.

grabbed 12-disc brakes front and each hole must align with each outgoing head of the bolts on the left side.

13-Taking the hard bit by bit to the right place ...

14-That must look partial and healthy disc mounted.

15-entered the home stretch, we present the three veneer of security ...

16-So we arranging and placing each of these friends of security, are threefold.

Then we find 17-10mm nuts, remember there are six in total, one for each pin.

18-Then we put the first set by hand each of the six 10mm nuts.

19-Repeat the process with the other safety deck three.

20-To get this partial result, the three plates with nuts, but have not been adjusted.

21-Like any good surgery, now is the time of the suture, using a 10mm or-die rache combination wrench of the same measure, we began to adjust and tighten a little ...

22-The ideal is that the squeeze on the one hand, hold the other with a wrench 12mm bolt head, if they do not get very far, because when the nut 10mm side I turn right the whole, do you understand?
Note: sure to tighten all very well, as we talk about a critical component in the brake system and that without a doubt, our life depends on security and all is well assembled and adjusted to perfection.

23-Another shot of what is explained in the previous step.

24-
Once all the sutures, forgiveness, everything has been set, should look more or less as in this picture, but we have not finished ...

25-If you look closely, each has safety pltaina fins, the function of which is that the doubles to the top of the face of each nut, to provide even more safety and nothing is out in full driving not want to see the brake disk rolling on a par with us, right?.

26-To fold, you can use any flat tool of choice, I use a flat end, but careful, do not rest directly on the painted side of the center of the disc, ie there is contact direct metal tool face of the disc, it comes factory painted matte black and if they do not cover below the tool will damage the finish of it.

27-What is recommended is that for safety fold each flap, put a rag underneath the tool, so that when they pry not so nice finishing shelled the center of the disc.
 "The end result?
 Well should get something like the last picture.

For now is all, I hope this chapter will have been his total pleasure and you can benefit if they have in mind to rebuild a machine so beautiful and noble as is the Geisha Honda CB750 Four.
Acknowledgement: Some of the photos were taken with very good quality for my dear husband, already jealous and I was getting the best remedy I found was to make friends with my Geisha, or foe? Who knows? : D.